Computer Science
Beginner
200 mins
Teacher/Student led
What you need:
Chromebook/Laptop/PC

Understanding Embedded Components and Planning

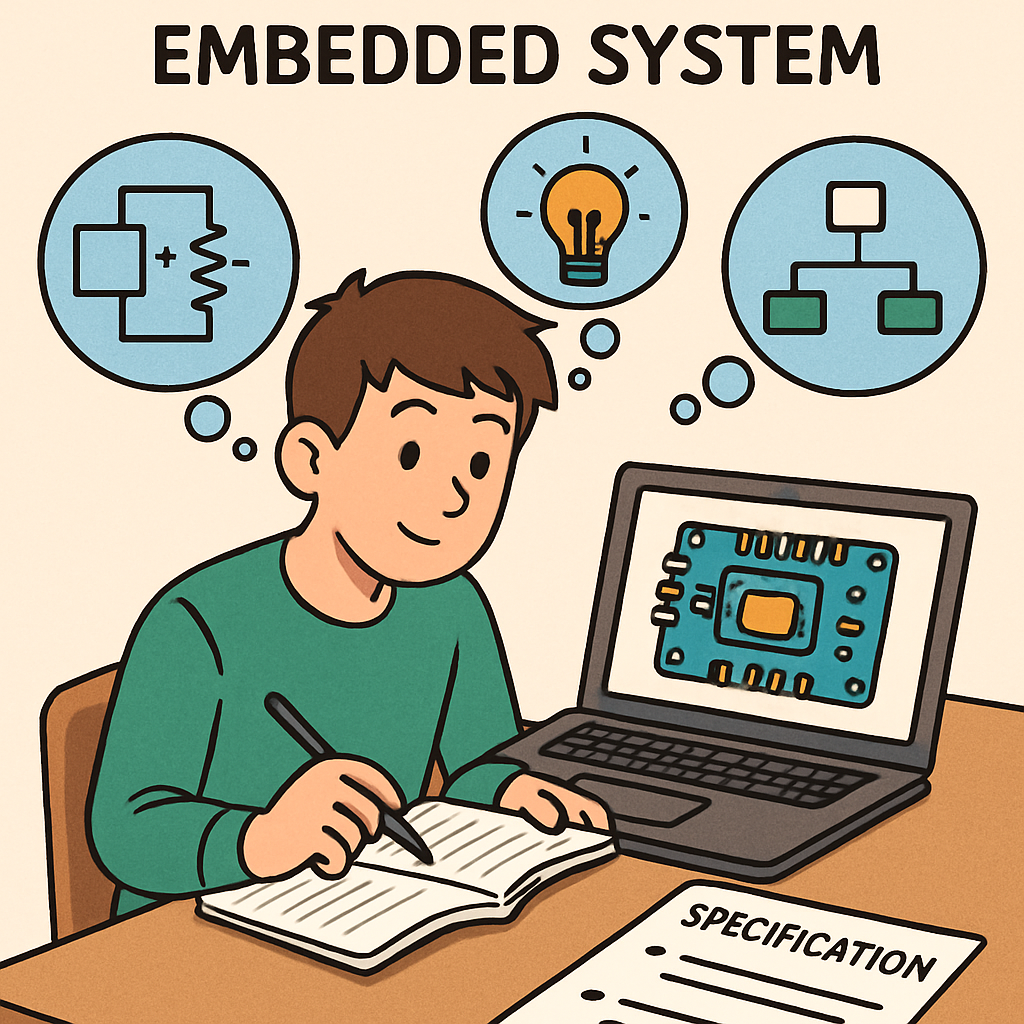
In this lesson, you'll learn about embedded systems by exploring components like sensors and actuators. Follow steps to design a system, discuss ethical impacts, assign team roles, and create a detailed plan for your project.
Learning Goals Learning Outcomes Teacher Notes

Teacher Class Feed

Load previous activity

    1 - Introduction

    In this lesson, you'll explore key components like sensors and actuators, learn step-by-step system design, assign team roles, discuss ethics, and create an initial plan. 

    Embedded systems are specialised computers integrated into devices for specific tasks, like a smart thermostat. You'll design automated applications while being flexible with tech like Micro:bit or Arduino.

    It should span several sessions, allowing you time to think deeply and collaborate with your team.


    Remember, planning involves abstraction – simplifying complex systems into manageable parts.

    2 - Exploring Embedded Components

    Start by understanding core components of embedded systems, referencing foundations like CPU architecture and digital vs. analogue inputs from earlier lessons. Embedded systems integrate these components to perform specific tasks efficiently.

    Key components include:

    • Microcontroller: The 'brain' (e.g., in Micro:bit), handling processing (recall CPU and memory from 'Hardware and OS' unit). It executes instructions and manages data flow.
    • Sensors: Inputs that detect environmental changes, like temperature sensors (analogue, providing continuous values) or buttons (digital, providing on/off states).
    • Actuators: Outputs that perform physical actions, like LEDs for lighting or motors for movement, responding to microcontroller commands.
    • Power Supply and Connections: Batteries or adapters for energy, and wires or circuits for integrating components securely.

    This demonstrates abstraction: focusing on essential parts while ignoring unnecessary details to simplify design.

    Activity: List components for a sample project, like a door alarm (e.g., motion sensor as digital input, buzzer as actuator). Note if inputs are digital or analogue. Then draw a simple diagram of the components and their connections, labelling each part.

    3 - Step-by-Step System Design

    Now, design your embedded system step by step. This process builds on computational thinking skills like problem-solving and algorithmic thinking, helping you break down complex tasks into manageable parts.

    1. Define the Problem: Clearly state what task your system will automate. Think about real-world needs, such as monitoring room temperature or detecting motion for security. Example: Create a system that automatically waters plants when soil moisture is low.
    2. Choose Components: Select appropriate sensors and actuators based on your problem. Be flexible with available technology – for instance, use a Micro:bit's built-in sensors or add external ones via GPIO pins. Consider compatibility and power requirements.
    3. Sketch the System: Draw a diagram showing how components connect. Use free tools like draw.io, or simply sketch on paper and scan it. Label inputs, outputs, and the microcontroller clearly to visualise the flow.
    4. Plan the Logic: Outline the system's behaviour using pseudocode. This is like a blueprint for your program, incorporating sequences, conditionals, and loops (outcome 2.6). Example: IF sensor_value > threshold THEN activate actuator.
    5. Consider Inputs/Outputs: Differentiate between digital inputs/outputs (simple on/off, like a button or LED) and analogue ones (continuous values, like a temperature sensor – recall outcome 3.12). Think about how you'll read and respond to these in your code.

    Example Pseudocode for a Light-Activated LED:

    WHILE true
        read analogue input from light sensor
        IF input < 500 THEN
            turn on LED
        ELSE
            turn off LED
        END IF
    END WHILE
    Activity: Spend about 30 minutes sketching your system's diagram and writing basic pseudocode. Remember to be flexible – you could implement this in Python for Micro:bit or the Arduino IDE, depending on your hardware. If you're stuck, refer back to examples from the 'Algorithms and Pseudocode' unit.

    4 - Ethical Discussion

    Embedded systems are everywhere in our daily lives, from smart home devices to medical equipment, and they can have significant ethical and societal impacts. In this step, you'll discuss these aspects, building on what you've learned about the relationship between computing technologies and society and the positive and negative impacts on culture and society. For example, while these systems can improve efficiency and safety, they might also raise concerns about privacy or unintended harm.

    Take time to think about how your embedded system could affect people and the environment. Use the following prompts to guide your discussion:

    • Privacy: Consider how your system collects or stores data. For instance, if it uses sensors to monitor activity, how can you ensure user data isn't misused? A good practice is to avoid unnecessary data logging and inform users about what data is collected.
    • Safety: Think about potential risks from actuators or outputs. For example, if your system controls a motor, set speed limits to prevent accidents. Ask: What could go wrong, and how can we add safeguards?
    • Accessibility: Ensure your design is inclusive, following principles like universal design. Could adaptive technology help people with disabilities use your system? For example, add audio feedback for visually impaired users.
    • Environmental Impact: Evaluate the system's power consumption or material use. Opt for energy-efficient components to reduce waste, and consider the long-term effects on resources.
    Activity: Spend 20-30 minutes debating these prompts with your team. Jot down key decisions, such as 'We'll add fail-safe mechanisms to shut down the system if a sensor detects unsafe conditions' or 'We'll use low-power modes to minimise environmental impact.' This will help you compare positive outcomes (like convenience) against negatives (like privacy risks).
    Remember to integrate these ethical considerations into your overall plan. Responsible design means thinking ahead to create technology that benefits society without causing harm.

    5 - Developing Your Plan Document

    Now that you've explored components, designed your system step by step, and discussed ethics, it's time to build upon the initial plan you created in the previous lesson. This step helps you refine and expand your ideas into a more detailed format, incorporating what you've learned in this lesson. 

    Review your initial plan document and update it (aim for 2-4 pages, or expand as needed) using tools like Google Docs, Microsoft Word, or similar. Incorporate new insights from this lesson, such as detailed component choices, system sketches, and ethical considerations. Structure it with the following sections to ensure your plan is comprehensive and easy to follow:

    1. Problem and Components: Update the description of the problem your system solves and refine the list of key components, including the microcontroller, sensors (noting if they're digital or analogue), actuators, and any power or connection needs. Explain any changes or additions based on what you've learned about components in this lesson.
    2. Design Sketch: Revise or expand your system diagram showing connections between components. Update your pseudocode to outline the logic more precisely, incorporating sequences, conditionals, and loops as needed from your step-by-step design work.
    3. Team Roles: Review and adjust team members' duties if necessary, such as who handles programming, hardware assembly, testing, or documentation. This promotes ongoing collaboration.
    4. Ethical Considerations: Integrate key points from your discussion in this lesson, including how you'll address privacy, safety, accessibility, and environmental impact. Add any new safeguards or design choices to mitigate risks identified today.
    5. Next Steps: Update your outline of what you'll do next, such as programming digital and analogue inputs/outputs, testing the system, or gathering resources. Refine your rough timeline to reflect progress and keep your project on track.

    Example updates for a Plant Watering System (building on an initial plan):

    Section 1: Problem and Components The system automates watering plants when soil moisture is low to prevent over- or under-watering. Components now include: Moisture sensor (analogue input for continuous readings), water pump (actuator for dispensing water), Micro:bit (microcontroller), battery pack (power supply), connecting wires, and an added LED for status indication – chosen for better user feedback.

    Section 2: Design Sketch [Insert your revised sketched diagram here, showing the moisture sensor connected to the Micro:bit's analogue pin, the pump to a digital output, and the new LED]. Updated Pseudocode: WHILE true read moisture from analogue sensor IF moisture < 30% THEN activate pump for 5 seconds flash LED green ELSE flash LED red END IF END WHILE.

    Section 3: Team Roles Alice: Hardware assembly and testing; Bob: Programming and pseudocode; Charlie: Ethical review and documentation; Added: Dana: User testing.

    Section 4: Ethical Considerations Privacy: No data storage to avoid misuse. Safety: Add a shut-off if pump runs too long. Accessibility: Include LED indicators for visual feedback and consider audio alerts. Environmental: Use low-power components to reduce energy use; added plan to recycle materials.

    Section 5: Next Steps Week 1: Program inputs/outputs including new LED; Week 2: Assemble and test prototype with safeguards; Gather moisture sensor, pump, and LED if needed.

    Activity: Spend 30-45 minutes updating your document based on this lesson's activities, and be prepared to revise it further as your project progresses. This developed plan will guide your implementation and help evaluate your system's costs and benefits.
    Tip: Use headings, bullet points, and images to make your document professional and easy to read. Building on your initial foundation strengthens your project's direction.

    Unlock the Full Learning Experience

    Get ready to embark on an incredible learning journey! Get access to this lesson and hundreds more in our Digital Skills Curriculum.

    Copyright Notice
    This lesson is copyright of DigitalSkills.org 2017 - 2025. Unauthorised use, copying or distribution is not allowed.
    🍪 Our website uses cookies to make your browsing experience better. By using our website you agree to our use of cookies. Learn more