Computer Science Databases
Beginner
240 mins
Teacher/Student led
What you need:
Chromebook/Laptop/PC

Designing the Frontend and Adding Interactivity

In this lesson, you'll design and build an engaging frontend for your interactive information system using HTML, CSS, and JavaScript. Focus on user-friendly UI principles, creative design, and collaborate with your team to integrate with the backend effectively.
Learning Goals Learning Outcomes Teacher Notes

Teacher Class Feed

Load previous activity

    1 - Introduction

    In this lesson, you will design and build the frontend of your interactive information system for ALT 1. This involves creating an engaging user interface (UI) and adding interactivity using HTML, CSS, and JavaScript. You will focus on UI principles, creative design, and integrating with the backend your team members are building.

    Work collaboratively with your team: while you handle the frontend, others are building the database and backend. This work should take about 280 minutes over a few sessions. Emphasise creative design to make your system user-friendly and visually appealing.

    Examples use HTML, CSS, and JavaScript, but adapt to your chosen tools. Ensure your design meets user needs from the planning lesson.

    2 - UI Principles and Interactivity

    Good UI design ensures your system is intuitive, accessible, and engaging. As you build the frontend for your interactive information system, understanding these principles will help you create a user-friendly experience that meets the needs identified in your planning phase.

    Core UI Principles:

    • Simplicity: Keep interfaces clean; avoid clutter. Focus on essential elements only – for example, if your system is a library app, don't overload the homepage with too many buttons or images that could confuse users.
    • Consistency: Use uniform colours, fonts, and layouts throughout your site. This makes navigation predictable; for instance, ensure all buttons have the same style and hover effects across pages.
    • Feedback: Provide responses to user actions, like button clicks. If a user submits a form, show a message like 'Loading...' or 'Success!' to let them know something is happening.
    • Accessibility: Ensure usability for all, e.g., add alt text for images so screen readers can describe them, use high-contrast colours for readability, and make sure your site works with keyboard navigation.
    • Creativity: Add unique elements like custom themes or animations to make it stand out. Think about your system's theme – if it's for a school event planner, incorporate fun animations like fading in event details to engage users.

    Interactivity: Use JavaScript to make your site dynamic, such as form validation (checking if inputs are correct before submitting) or data fetching (pulling information from the backend). This turns a static page into an engaging tool. For example, you could add a dropdown menu that updates content based on user selection, or buttons that trigger pop-up modals with more details.

    Remember, these principles should align with the user needs you identified earlier, such as easy navigation for quick searches or dashboards for overview information.

    Activity: Sketch a creative wireframe for your system's main page. Incorporate user needs, like navigation menus, search bars, or dashboards. Use paper or a digital tool like a drawing app to outline the layout, colours, and interactive elements. Think about how to apply each UI principle in your sketch.

    3 - Building the Interface with HTML and CSS

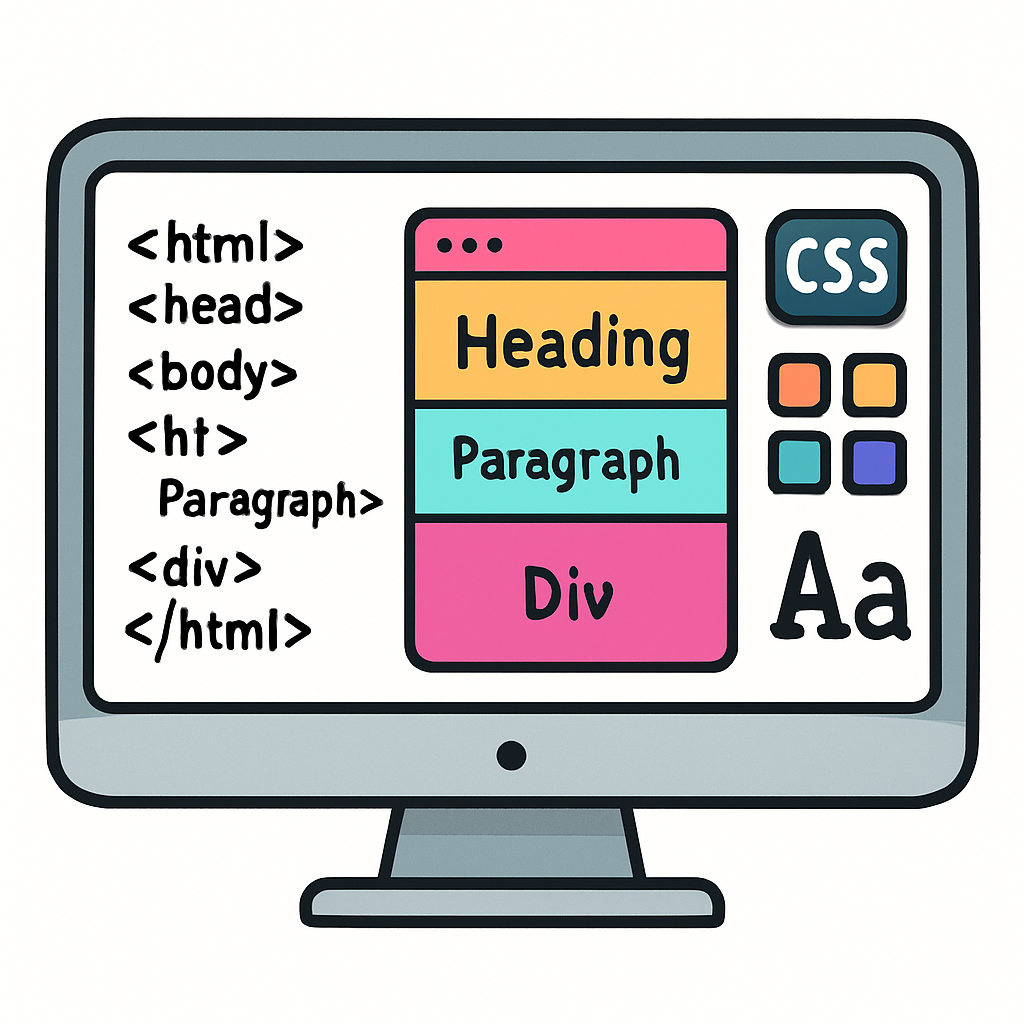
    Now it's time to build the structure of your frontend using HTML and style it with CSS. This step focuses on creating a visually appealing and user-friendly interface that aligns with the UI principles you learned earlier. Remember to emphasise creativity – think about colours, layouts, and elements that make your system engaging and unique to your project's theme.

    Getting Started with HTML:

    • Create a basic structure in an index.html file. Include elements like headers, navigation menus, main content areas, and footers based on your wireframe sketch.
    • Add forms, buttons, or lists that will later connect to backend features, such as search inputs or display areas for query results.

    Styling with CSS:

    • In a styles.css file, add rules for layout, colours, fonts, and responsiveness. Use flexbox or grid for modern layouts.
    • Apply creativity: Choose a colour scheme that fits your theme, add hover effects, or include subtle animations with CSS transitions.

    Collaborate with Your Team: While building, work closely with team members handling the database and backend routes. Discuss what data will be displayed (e.g., book lists from queries) and ensure your HTML elements match the backend endpoints they'll create. For example, if they're building a route to fetch books, plan how your search form will send queries to it.

    Tip: Use a shared document or tool to note down integration points, like form IDs and ACTIONs or class names that JavaScript will use later.
    Activity: Build your HTML and CSS files based on your wireframe. Share your progress with your team and get feedback on how it aligns with the backend plans. Test your page in a browser to ensure it looks good on different screen sizes.

    4 - Adding Interactivity with JavaScript

    As well as your HTML structure and CSS styling, you can add interactivity using JavaScript. This will make your frontend dynamic and responsive to user actions, such as clicking buttons, submitting forms, or hovering over elements. Focus on creating engaging features that enhance the user experience, aligning with the UI principles and creativity from earlier steps.

    Getting Started with JavaScript:

    • Create a new file called script.js and link it to your HTML file by adding <script src="js/script.js"></script> just before the closing </body> tag.
    • Add event listeners to handle user interactions. For example, listen for form submissions or button clicks to trigger actions like validating input or updating content on the page.

    Adding Dynamic Updates:

    • Use DOM manipulation to change page content dynamically, such as adding or removing elements based on user input.
    • Incorporate creativity: Add simple animations using JavaScript, like fading in results or toggling visibility of sections to make interactions more engaging.

    Collaborate with Your Team: Share your JavaScript plans with team members building the backend. Discuss how your scripts might interact with the backend, ensuring variables and functions align for smooth integration.

    Tip: Use the browser's developer console (press F12) to test and debug your JavaScript code. Look for errors and experiment with console.log() to track values.
    Activity: Implement interactive features in your script.js file, such as form validation or a button that toggles content visibility. Test them in your browser and share the updates with your team for feedback on backend compatibility.

    5 - Integrating Features like Queries

    You can connect your frontend to the backend for features like querying data. Use fetch to interact with routes your team created.

    async function searchBooks(query) {
        try {
            const response = await fetch(`/books?search=${query}`);
            const data = await response.json();
            displayResults(data);
        } catch (error) {
            console.error('Error fetching books:', error);
        }
    }
    
    function displayResults(books) {
        const results = document.getElementById('results');
        results.innerHTML = '';
        books.forEach(book => {
            const div = document.createElement('div');
            div.innerHTML = `<p>${book.Title} by ${book.Author}</p>`;
            results.appendChild(div);
        });
    }
    
    // Call in submit event: searchBooks(query);
    Activity: Implement a query feature, like searching or adding items. Test with your team's backend.

    Unlock the Full Learning Experience

    Get ready to embark on an incredible learning journey! Get access to this lesson and hundreds more in our Digital Skills Curriculum.

    Copyright Notice
    This lesson is copyright of DigitalSkills.org 2017 - 2025. Unauthorised use, copying or distribution is not allowed.
    🍪 Our website uses cookies to make your browsing experience better. By using our website you agree to our use of cookies. Learn more