Today you make a real web page, and it is all about you.
By the end of the lesson your page will have:
- your name in big words at the top
- a sentence about you
- a picture you pick
- an emoji
You build it by snapping blocks together, a bit like Scratch.
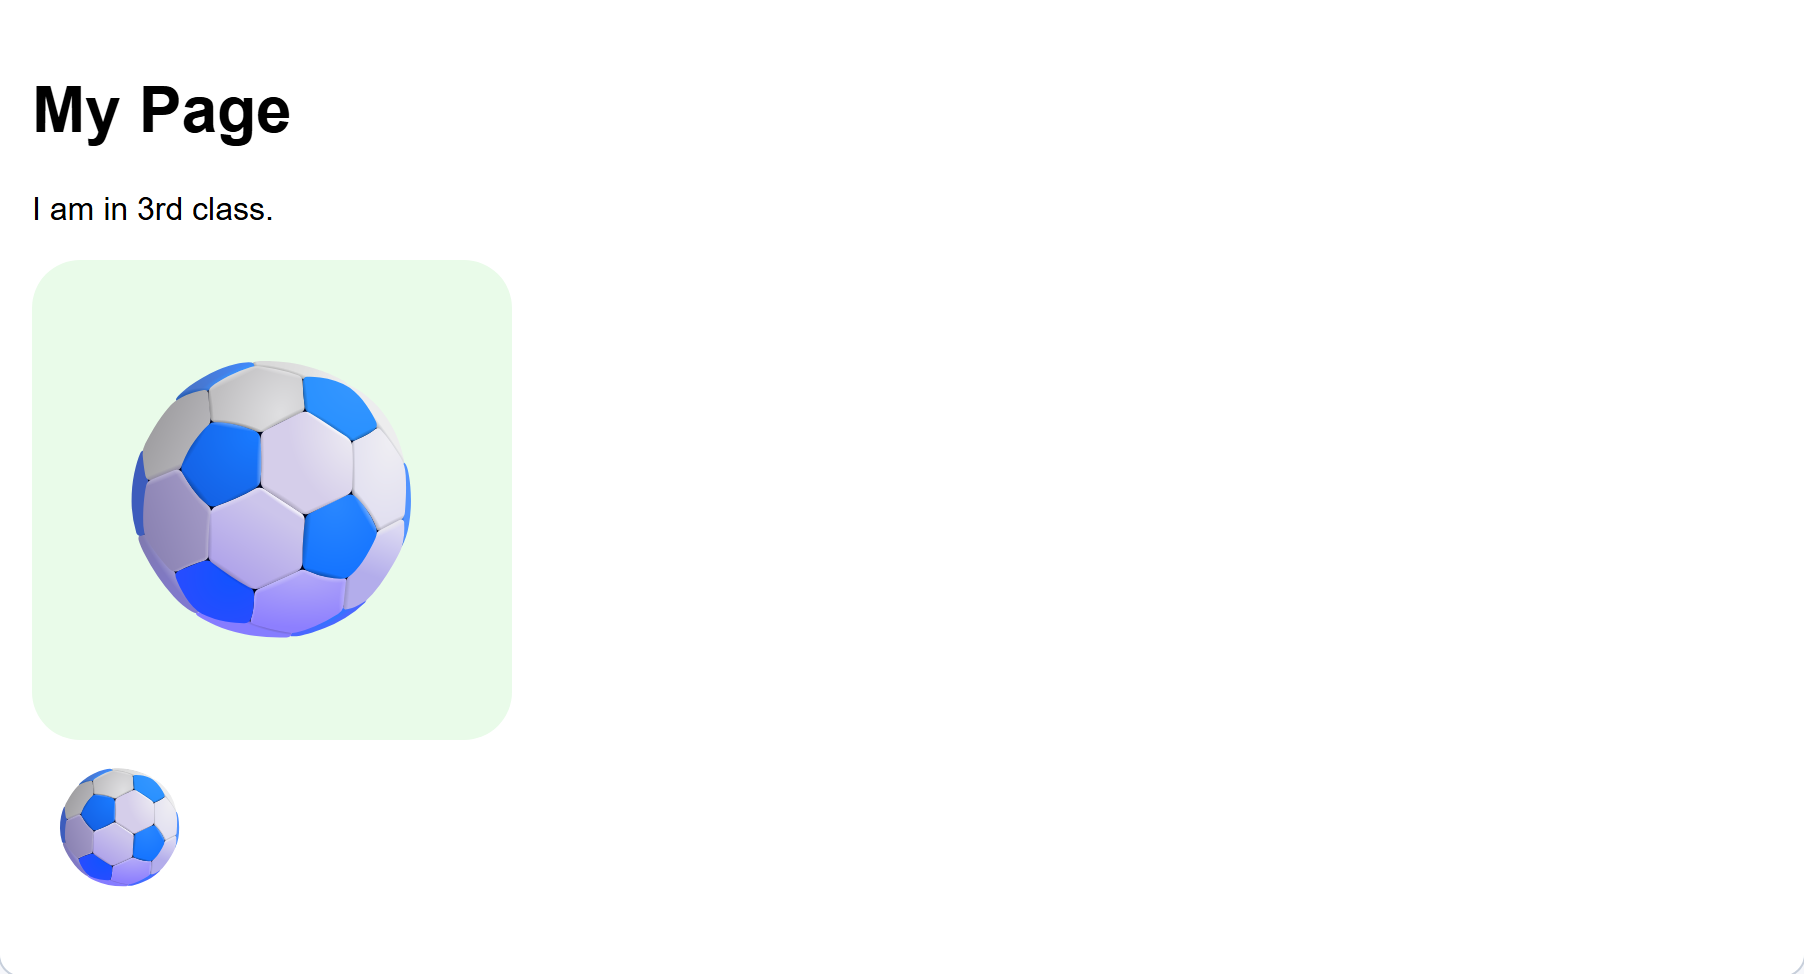
Have the interactive open on the board before the class comes in. The picture on this step is what a finished page looks like, so show it and say "this is where we are going".
You do not need to know anything about how web pages are made. Every block the class needs is shown in a picture on the step that asks for it.
A web page is a page you open on a computer, a tablet or a phone.
You have opened hundreds of them. Think of:
- your school's own website
- the page that tells you the weather
- a page about your favourite team or animal
- the place you watch cartoons or play a game
Every one of those has words on it, and pictures, and things you can click.
Somebody made every single one. They did not just appear. Today you are the somebody.
Spoken, and quick. Ask the class to name web pages they opened this week and take four or five answers, then ask who they think made them. Most 8-year-olds have never considered that a person made it, and that is the idea the whole module rests on.
If the school website is easy to reach, put it on the board for ten seconds and point at its heading, its writing and its pictures. Those are the three blocks they add today, so it makes the lesson feel like the real thing.
Keep it to the three minutes. The examples are the class talking, not you.
Before you build anything, find your way around.
- Open the interactive activity below.
- Click Your web page.
- Click Blocks to come back.
Check: you have one blue page block waiting for you, and Your web page is empty. That is right, you have not built anything yet.
Interactive activity
Model both tabs on the board once, slowly. The class will move between them all lesson, so it is worth the two minutes now.
The blue page block cannot be deleted, and nothing they do can break it. Say so, because a pupil who thinks they might break it will not try anything.
Your page needs your name at the top, in big letters.
This is the block you need:
{"blocks": {"languageVersion": 0, "blocks": [{"type": "wp_heading", "fields": {"TEXT": "Aoife", "COLOUR": "default", "SIZE": "normal", "ALIGN": "left"}}]}}- Click Content on the left.
- Drag a heading block into the blue page block.
- Click its white box and type your name.
- Click Your web page.
Check: your name is at the top of the page, in big letters.
If it did not work: your page still looks empty, so the heading is beside the blue page block instead of inside it. Drag it again until it clicks in.
Interactive activity


This step carries a short animation of the drag itself and a picture of how the page should look afterwards. Play the animation on the board, twice, before anyone touches a mouse.
Watch for the block being dropped beside the page block instead of inside it. If a pupil's page still looks empty, that is almost always why. It snaps with a click when it goes in the right place.
Stop and make sure it worked before you add anything else.
- Click Your web page.
- Look for your name in big letters at the top.
Check: you can see your name. If you cannot, go back to Blocks: your heading is outside the blue page block, and it needs to be inside it.
Interactive activity
A deliberate stop so nobody carries a broken page through the whole lesson.
Pair check works well here: one child reads their page aloud while the other watches their screen.
Unlock the full learning experience
You're previewing this lesson. Get full access to this lesson and hundreds more — each one ready to teach, with interactive activities, printable resources and pupil progress tracking built in.
This lesson is copyright of DigitalSkills.org 2017 - 2025. Unauthorised use, copying or distribution is not allowed.